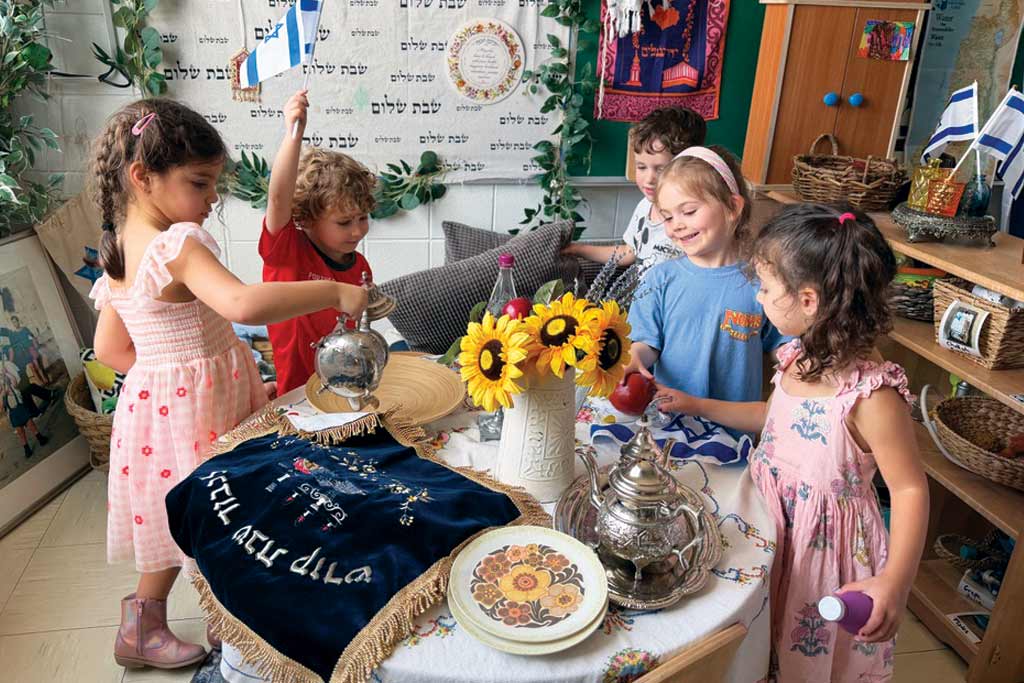
Recreating our Passover Seder centerpieces
Rena Grosser
As a mom, teacher, and artist, it is innate for me to bring classroom experiences into my home, while also sharing and encouraging these learning opportunities with others so that they can also create a space for meaningful artistic processes. Below, I will walk you through three different Passover DIY projects that will help to enhance the Passover ritual items and spirit at your Passover tables.
These concepts can extend to all ages, as I love nothing more than gathering with my family and friends to venture into new art experiences and envision new learning spaces. I believe that there is an artist inside all of us with a need to create. Some ways to ignite or spark these skills is by taking on a new project with the mindful intention that it will serve the soul as we create something with significance from materials that had no prior meaning or value, breathing new life into them.
Each holiday on the Jewish calendar allows us to reset, reflect, and investigate new ways to reconnect with the traditions and values that each year offers us. Every spring, we embrace a state of redemption at our Passover Seder, and art is a great way to attempt to really understand what that means.
According to the famous Jewish pioneer of color, Mark Rothko, “To me, art is an adventure into an unknown world, which can be explored only by those willing to take the risk.” Passover is a multimodal holiday, reaching all our senses to attain a deeper understanding of the retelling of the story in ways that everyone of all ages can connect to.
There are many complex concepts within the story of the Haggadah that can be explored using the simplest of art materials.
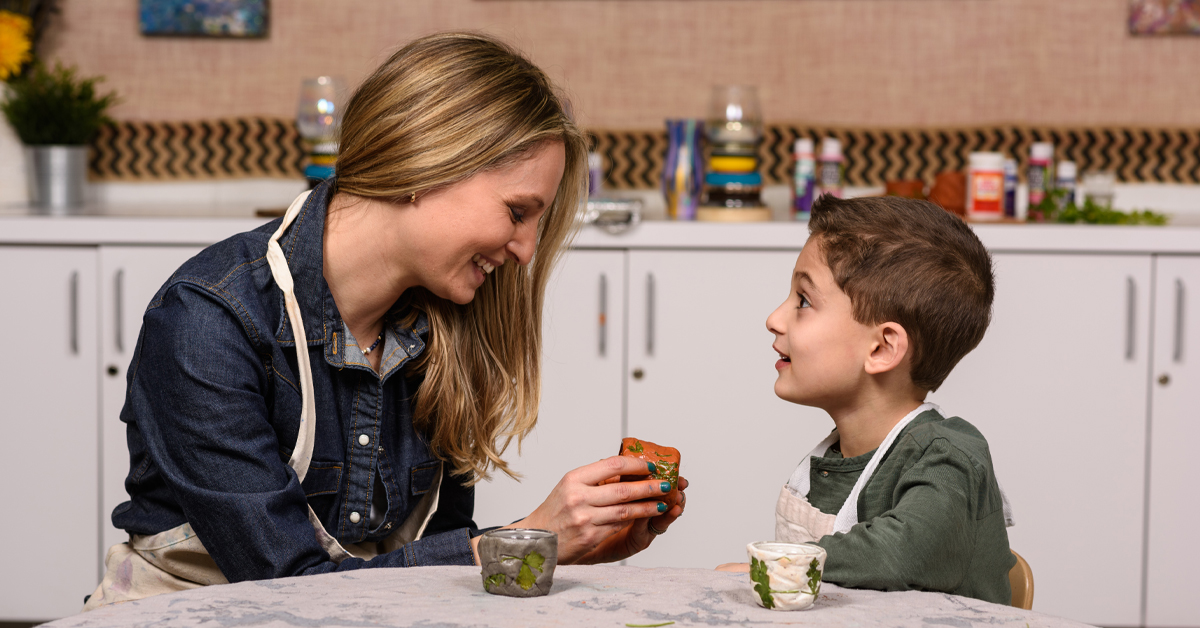
For the first project, by using our hands with clay, we are brought back to our ancestors in Egypt who worked endlessly molding heavily dense bricks with mortar. Creating saltwater dipping bowls for the karpas (green vegetable), we are reminded of their tears of pain.
In the second project, pouring paint on a special chalice set aside for Eliyahu or Miriam, we bring a sense of celebration for our redemption to our seder. The pouring process is echoed in the Haggadah as we say to God, “Pour out your anger.” This process of building layers of fluid colors displays the cathartic power that is embedded within the process of pouring and its ability to release our emotions.
And in the final project, we reuse and re-envision the use of basic materials by building vessel-like sculptures that can symbolize either our freedom or heroes from Jewish history. These art projects help us to prepare for Passover by creating tactile and meaningful opportunities for this experiential and historic holiday.
Through the acts of exploring clay, pouring paint, and rebuilding with recyclables, we are not only creating the ritual items for our Passover table setting, but also reinforcing a deeper connection to the Seder table year after year. The process of molding, designing, and constructing these vessels forces us to reflect on their unique role within the holiday, and as artists, we gain a deeper sense of freedom by choosing how to create them.
I will never forget all the years that my Savta Rita (Grandma Rita) pulled out her China saltwater bowls and silver spoons for our seder nights growing up. This year, you can create something that your family and friends will always remember as well as continue some of the traditions using your own creative touch to your Seder’s centerpieces.
Parsley ( Karpas ) Saltwater Clay Bowls:
Materials List:
● Air dry clay
● Mini glass bowls or glass candle votives
● A bushel of fresh parsley
● Wooden board or clay-friendly surface
● Rolling pin
● Modge Podge and brush
Step by Step:
1. Place a golf-ball size lump of clay on board and flatten with rolling pin. Grab a golf-ball size lump of clay and warm it up in hands by squeezing, rolling, and molding.
2. Place clay on board and flatten the clay using the rolling pin.
3. Choose a stalk (around 3 leaves) of parsley and press it into the clay. Use rolling pin to secure into clay.
4. Place bowl upside down. Flip clay over and wrap it around the bowl, pressing firmly so it sticks to the bowl, over and around the bowl’s edge.
5. Lift and turn clay over. Place the bowl in the center and wrap clay around the bowl, pressing and folding firmly so it sticks to the bowl. Continue to press as needed so that it molds to the bowl shape and molds under the lip of the bowl while also pressing in additional parsley leaves.
6. When the clay is tightly molded around the bowl, coat with Mod Podge to seal.
7. Turn upside down and set to dry for 24 hours. Feel free to add additional layer of Mod Podge as needed.
8. Wipe clean only after use.
Paint Pour Eliyahu’s/Miriam’s Cup
Materials List:
● Rubbing alcohol and cotton swabs
● Wine glasses from dollar store
● Grill mesh rack and tray (to catch paint)
● Ready to pour paints
● Mod Podge and paint brush
Step by Step:
***Prepare glasses by wiping surface with rubbing alcohol
- Place rack in tray.
- Clean glasses by wiping down with rubbing alcohol, then place them upside down on the rack.
- Shake the bottles before pouring; then gradually squeeze layers of paint in different colors, rotating the glass for even coverage. Allow time in between colors and watch the vibrant formation appear!
- When you feel your colors are complete, lift glass to an empty space on the rack to dry (so it doesn’t stick.)
- Allow 24 hours to dry and seal with Mod Podge.
- Wipe clean only after use.
Recycled Sculpture Cup For Eliyahu/Miriam
Materials List:
● Recycled lids
● Unfinished wood coasters
● Stemless wine glass from dollar store
● Tacky glue or other heavy-duty glue
● Paintbrush
Step by Step:
1. With a coaster as the base, stack and layer the coasters and lids to build a sturdy structure.
2. Add the glass last, to the top, making sure it does not sit crookedly.
3. Spread glue between the pieces.
4. Allow 24 hours to dry.
5. Wipe clean only after use.
Rena Grosser–a Judaic Atelierista and mother of three–is an Early Childhood Educator at Bernard Zell Anshe Emet Day School and has a background in Art Therapy.